The auto part experts of one of the leading Suzuki Car Spare Parts suppliers in this blog will explain Quick Steps to Replace a Ballast Resistor. But first, lets’ understand what a Ballast Resistor is.
A ballast resistor is a long, white ceramic car component connected to the left side of the ignition coil assembly. It is basically housed in series along with the primary winding in a battery ignition system to help regulate the flux of primary current. This regulation of the flow of current prolongs the life of the points where the contact of current breaks. The primary function of a ballast resistor is therefore to prevent the overheating of the primary winding of the ignition coil. The ballast resistor is fabricated with an iron wire and the iron wire has the capacity that at low speeds it increases the resistance which decreases the amount of current in the primary circuit of the ignition system. But if the current from the primary winding flows continuously, this increases the electrical resistance and the temperature of the ballast resistor, thereby reducing the flow of electric current flowing through the primary winding. This substantial decrease in electric current flowing through the primary winding prevents the overheating of the primary winding.
So if the ballast resistor is broken, the ignition coil will not be able to get proper voltage. BP Auto Spares India has put together a blog explaining the quick steps to replace a Ballast Resistor.

Tools Required
- Voltmeter
- Open end wrench
- Ratchets
- Sockets
- Sandpaper
- Screwdriver
- Safety gloves
- Vehicle owner manual
Quick Steps to Replace a Ballast Resistor
- First, you need to make sure if your car actually has a ballast resistor. For this, you’ll need a Voltmeter. Connect a voltmeter to the two given leads on the ignition coil and turn on the ignition.
- If the voltmeter displays reading somewhere near 12 volts, then it is highly unlikely that your car has a ballast resistor. But if the reading comes somewhere between 6 and 9 volts, then it is highly likely that your car does have one.
- After making sure that your car does have a ballast resistor, get down to the task of locating it.
- Open the hood of the car and right at the rear of the engine, you will see the ballast resistor bolted to the firewall of the coil. As we have mentioned before it is provided in series with the primary winding in a battery ignition system between the ignition switch and the positive terminal on the ignition coil.
- Now, picking up an appropriate box wrench or socket, disconnect the negative terminal on the battery. Once the negative terminal battery is removed from the battery, put it somewhere out of the direct reach of anything metal. You can cover the terminal end with a towel or a masking tape, just to be safe.
- After this, unplug the wire connecting the coil to the distributor. This step is important to make sure you are safe from any possible electric discharge.
- Next comes, the removal of positive lead to the ignition coil. The ballast resistor has its own secondary wire with a round or U-shaped wire terminal end attached to the positive coil lead stud.
- Now there are two wires coming from the ballast resistor. One of the wires comes from the ignition switch while the other one connects to the ignition coil positive terminal.
- Once the wires are removed, un-mount the ballast resistor from near the ignition coil using appropriately sized box-open end wrench. You can also take help of a ratchet or socket.
- After removing the ballast resistor from its throne, thoroughly clean the connecting surface between the resistor and the point where it was hanged using sandpaper or a small wire brush. Since the ballast resistor is known for generating a lot of heat, properly cleaning the surface between the resistor and the mounting point will aid in the heat transfer.
- Put the new ballast resistor back on and connect the positive lead to the ignition coil. Reconnect the wire connecting the coil to the distributor and make sure all the wire leads are properly connected and tightened.
- Reconnect the negative terminal on the battery after removing the masking tape or towel you might have used to cover the ends. Since you are working on the battery terminals already, make sure you are wiping them clean with a clean and dry rag.
- Now turn the ignition switch back to open and give your vehicle a start. If your vehicle is starting just fine, then you have successfully resolved the issue.
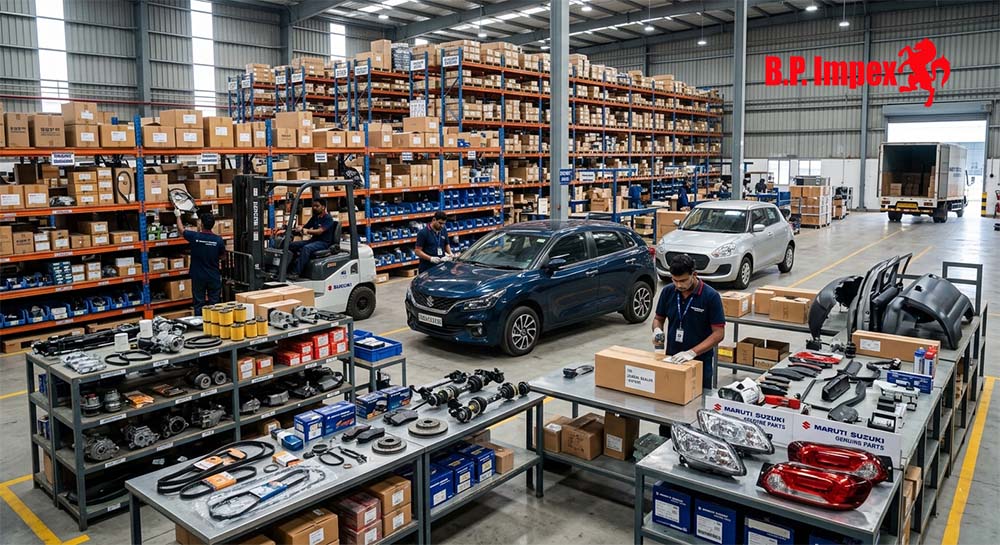
BP Auto Spares India is the largest Suzuki Parts dealers, suppliers, distributors, exporters and importers boasting a ready stock of OEM quality accessories and spare parts of major automobile brands. If you are doing the job of replacing the ballast resistor yourself, then get your new ballast resistor from BP Auto Spares India.


Leave a Reply