
A serpentine belt or the drive belt is a rubber belt that helps connect the alternator, power steering, and A/C to the crankshaft which is an engine component that transports the power from the engine to those attached components. If the belt is suffering from any kind of fault, the car battery will not charge nor will any electrical components or accessories in the car will work. The serpentine or the drive belt is also known as the v-belt.
Since there is a large amount of heat that is produced in the engine, the serpentine belt due to the excessive heat exposure cracks and breaks over time. The first indication of the serpentine belt breaking is the rigidness while rotating the steering wheel. In some cars, water pumps are connected to the serpentine belt. So when the belt breaks, the coolant needed to cool down the engine, will not properly flow, which will lead to the overheating of the engine.
Modern day belts are equipped with only one serpentine belt that drives the entire engine accessories component.
 If there is a continuous squealing noise from the engine, it means that you need to replace your serpentine belt. Just follow the steps put together by the renowned Suzuki spare Parts Dealers.
Things you’ll need
• Socket set and ratchet
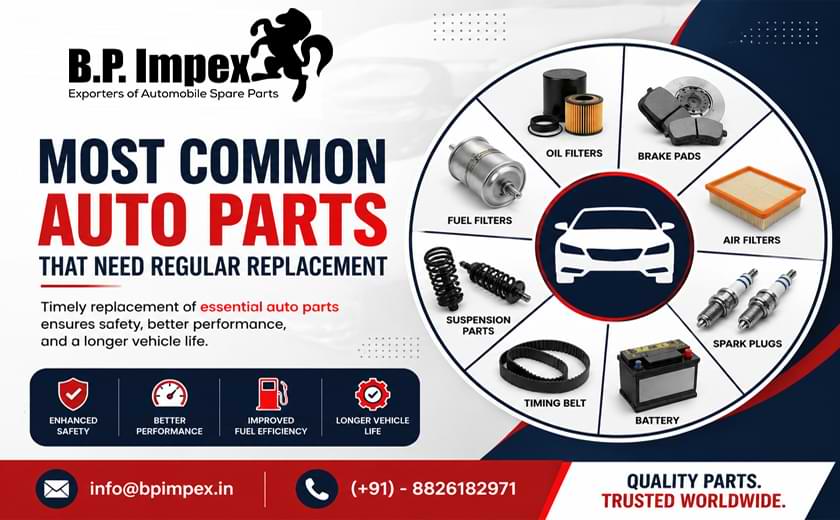
• Serpentine Belt
• Protective eye glasses
• Latex gloves
• Flashlight
Steps to replace serpentine belt
Step 1: Park your car in a safe spot and turn off the engine. Let the engine cool before working on any part associated with it.
Step 2: In order to access the various parts of the engine, remove the guard covers and shrouds that may cover the repair area.
Step 3: Once all the engine guards are off, locate where the belt tensioner is. It is located under the spring tension which is used to hold the pressure on the belt to keep it in place.
Step 4: In order to release the tensioner, pull it in the opposite direction of the spring tension.
Step 5: Remove the belt from the nearby pulley once the tensioner is released.
Step 6: Now the belt is ready to be removed.
Step 7: Once the belt is removed, compare the old and the new belt to see if they match in size and specifications.
Step 8: Install the new serpentine belt onto the pulleys and activate the belt tensioner.


Leave a Reply